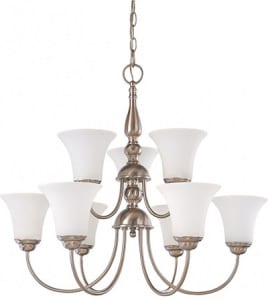
Spruce-up any room with a new ceiling light fixture. Learn how to install a light fixture in this quick DIY tutorial that will add new life to a small or large room. The toughest part will be choosing your new light fixture!
 Level: Beginner
Estimated Time: 15 min
Estimated Cost: $50 – $250
MATERIALS
- new light fixture
- Phillips head screwdriver
- step ladder
- combination wire stripper
- light bulbs
- work light
- voltage tester
- utility knife
- wire nuts
- electrical tape
INSTRUCTIONS
- Turn the electricity off. In the electrical circuit panel, turn off the power of the room where you will be working. Double check that the power is off by flipping the light switch on and off. You can hold a Voltage Tester near the light to see if there is any live electrical current present. If electrical current is present, turn off power to the whole house and proceed with a work light.
- Remove the old light fixture. Using a sturdy stepladder and a screwdriver, remove the existing light fixture shade and set it aside. Then remove the light fixture base.
- Remove the old wire connectors. Untwist the wires from the light fixture and the house to remove them completely.
- Connect the new wires. Connect the house’s black wires to the new fixture’s black wires, and the house’s white wires to the fixture’s white wires. Then connect the house’s ground wire to the fixture’s ground wire. To connect the wires, twist the two wire ends together, twist on a wire nut, and then wrap with electrical tape that is the same color as the wire. Gently fold the connected wires into the outlet box.
- Install the light fixture base. Using the hardware provided, install the new light fixture’s base according to the manufacturer’s instructions.
- Install the light bulbs. Check the fixture’s packaging to determine the correct light bulbs with the correct wattage that you need to install.
- Turn the power on. Turn the power back on in the electrical circuit panel. Turn on the light switch. If the light does not turn on, turn off the light switch and the electrical circuit panel switch and check the wire connections.
- Attach the light shade. Finally, attach the trim and shade according to the manufacturer’s instructions and enjoy your new light fixture!
TIP: Have a helper on hand to hold the light fixture as you do the removing and installing.


